
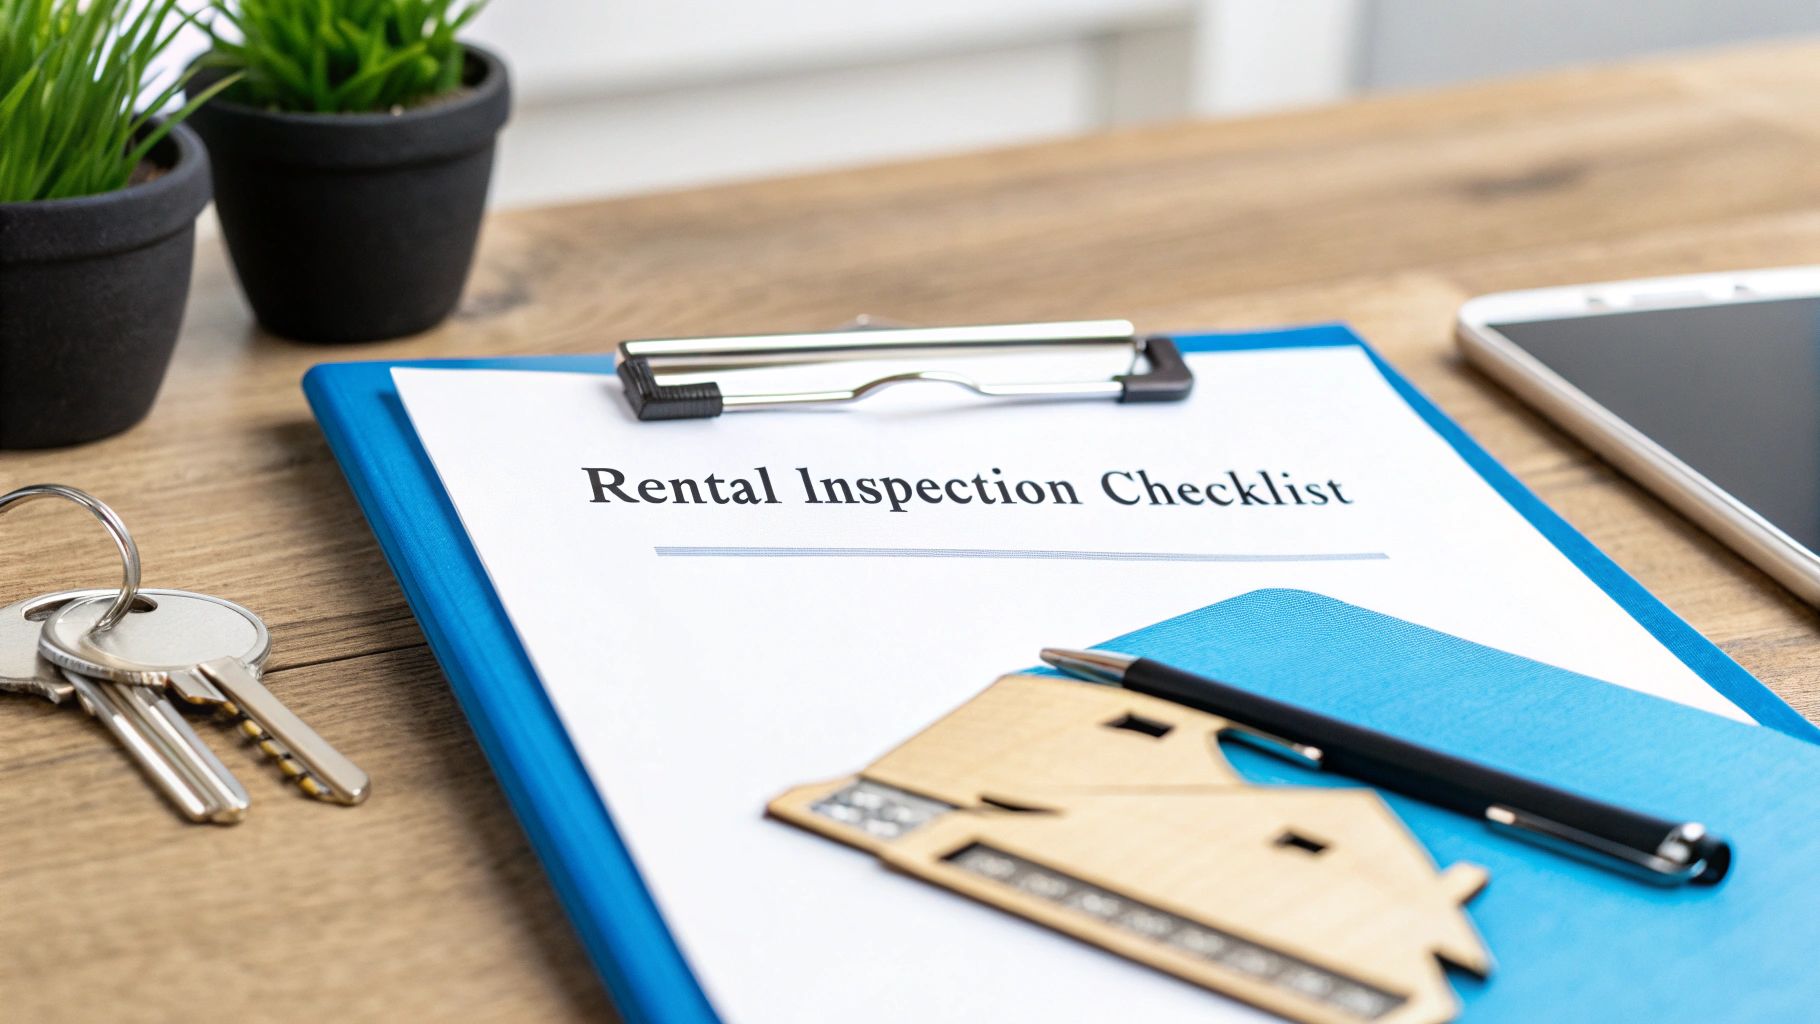
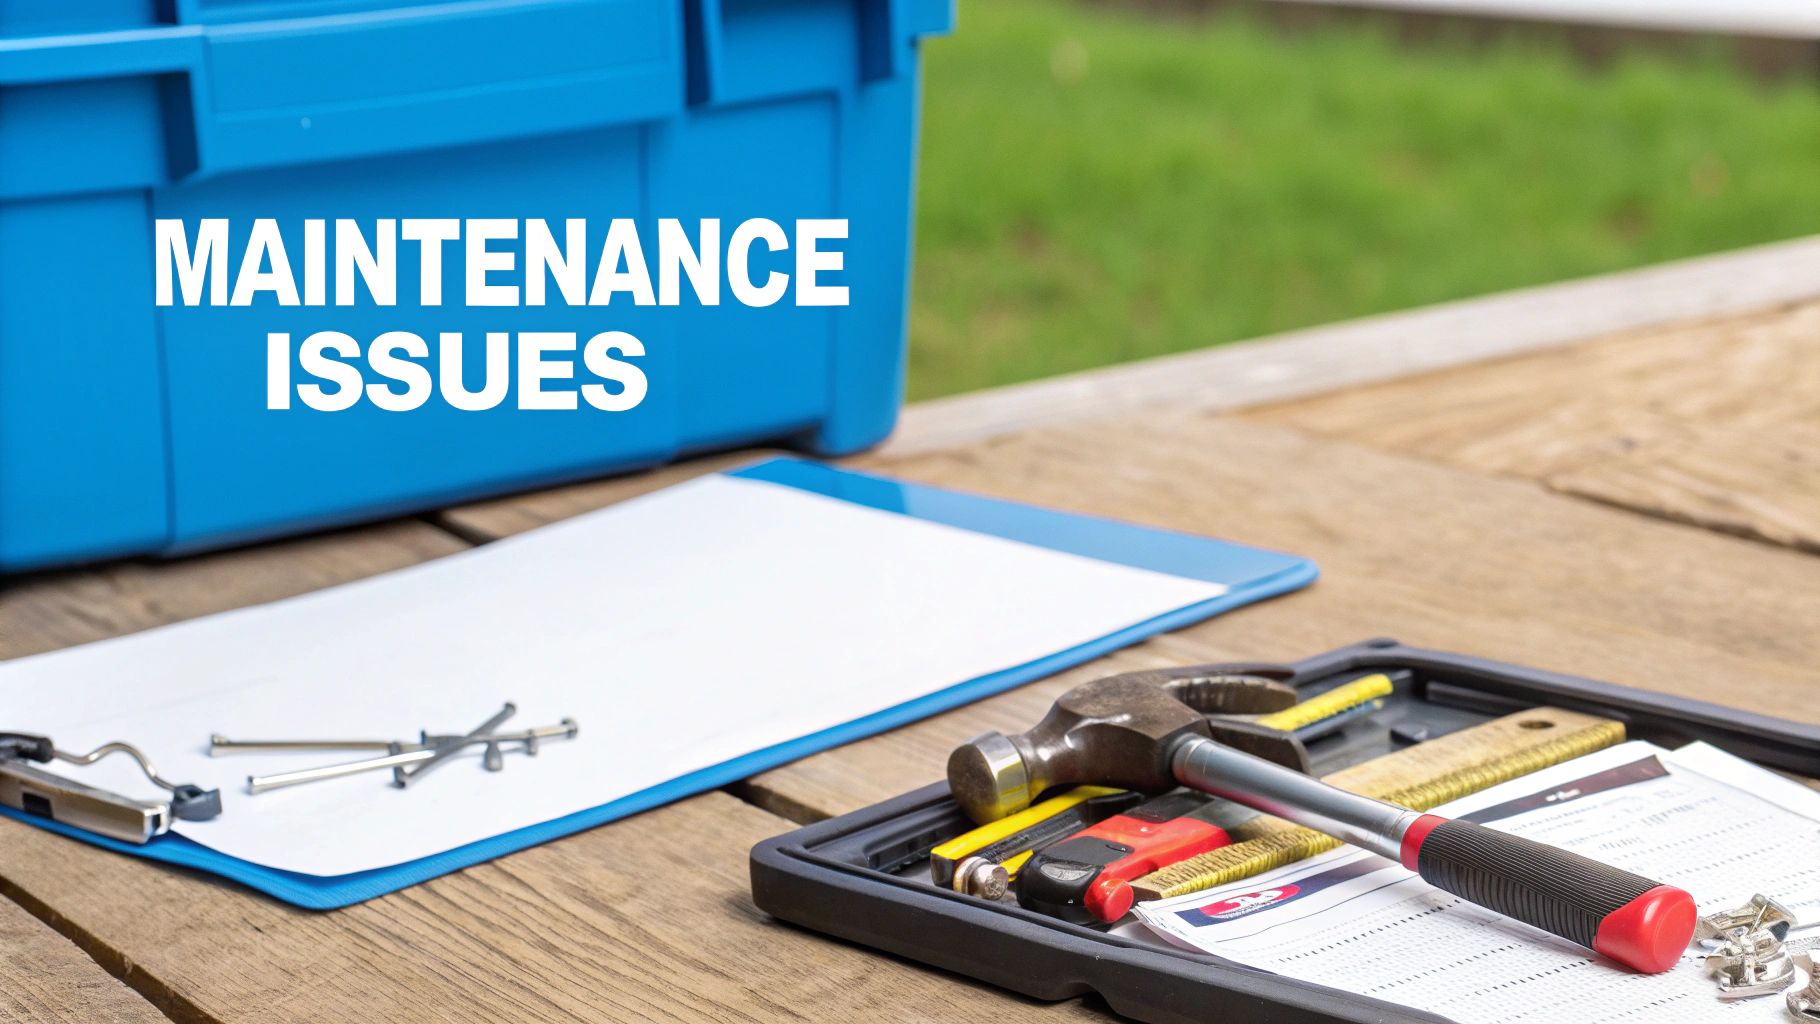
Why Smart Landlords Rely On Inspection Checklist Templates
Thorough documentation is a landlord’s first line of defense against disputes and unexpected expenses. By adopting a rental inspection checklist template, landlords create a clear, consistent record of property condition that holds up in deposit claims and legal challenges. Every crack, stain, or loose fixture is noted, dated, and, when possible, photographed—turning a vague memory into solid proof.
In the United States, 90% of professional property management companies use standardized checklists to record property conditions as of 2022. That practice cuts security deposit disputes by 40–60% and lets landlords recover 15–20% more in repair costs compared to informal methods. Digital platforms like SafetyCulture boost inspection efficiency, with mobile-ready templates reducing documentation time by 30–50% versus paper systems. Explore this topic further
Key Benefits Of Standardized Checklists
- Consistent Documentation: Every inspection follows the same format, so no detail slips through the cracks.
- Dispute Prevention: Clear, dated records help avoid disagreements over deductions.
- Cost Recovery: Detailed notes and photos justify repair charges and speed up claims.
- Time Savings: Digital checklists automate date-stamping and keep files organized.
- Tenant Trust: Transparent records build a stronger relationship with renters.
These benefits set the stage for real cases where checklists made a difference.
Real-World Scenarios Saved By Templates
Leveraging Digital Checklists
- Mobile-Friendly Access: Inspect on the go with smartphones or tablets.
- Photo & Video Integration: Attach multimedia evidence directly to each checklist item.
- Cloud Storage & Sync: Back up records securely and share instantly.
- E-Signature Capabilities: Collect tenant sign-off in real time for mutual agreement.
Choose paper or digital based on your portfolio size, tech comfort, and team workflow.
Main Takeaway
Inspection templates are living documents that protect property value, minimize disputes, and keep operations on track. By combining systematic checklists with Showdigs’s AI-backed leasing automation, single-family property managers can integrate showings and inspections in one place. Discover how Showdigs can simplify your inspection workflow with Showdigs inspection automation.
Crafting The Perfect Inspection Template That Actually Works
A rental inspection checklist template is more than just a list of boxes—it’s your roadmap for clear communication and legal protection. By designing it as a room-by-room guide, you ensure no detail slips through the cracks. The outcome is more accurate inspections, faster dispute resolutions, and smooth handoffs between tenants and property managers.
Building Room-By-Room Sections With Precision
Breaking your template into distinct areas keeps inspections focused and consistent. Structured sections help every inspector follow the same process without feeling overwhelmed.
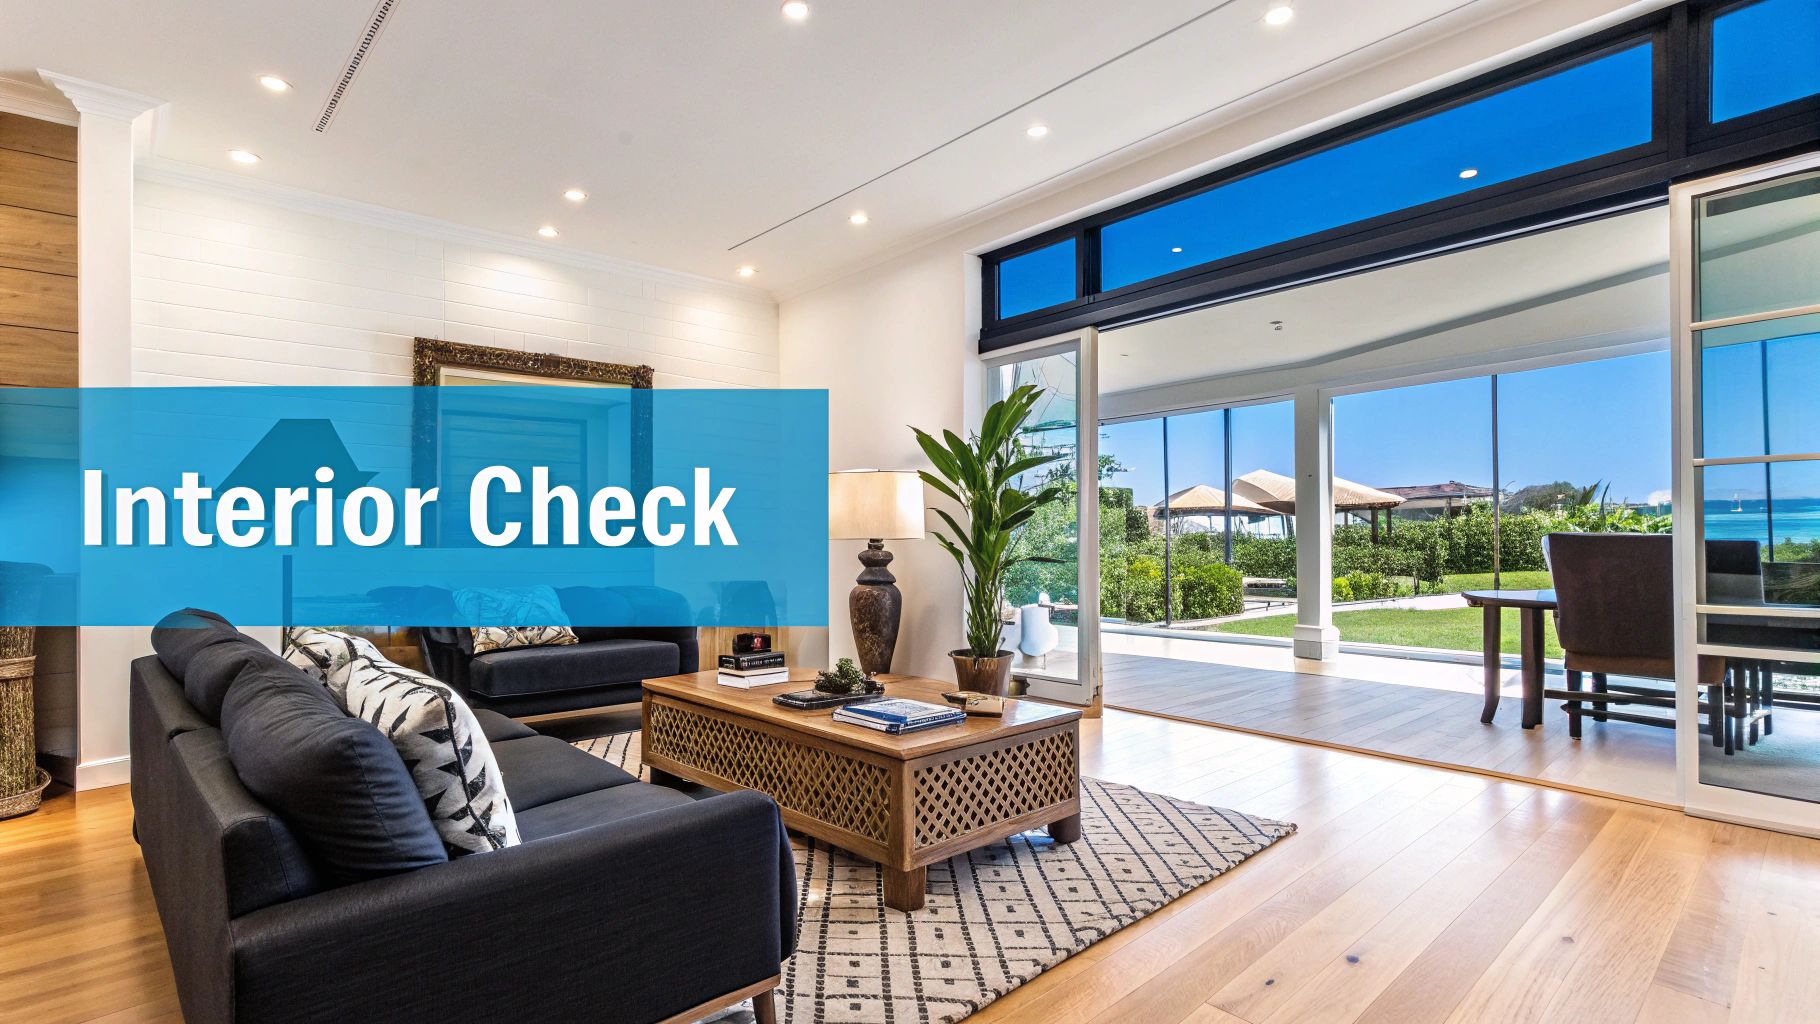
- Living Areas: Walls, floors, windows, and lighting fixtures
- Kitchen & Appliances: Cabinets, countertops, oven, refrigerator, and plumbing
- Bathrooms: Tiles, grout, faucets, drains, and ventilation
- Bedrooms: Carpets, closets, outlets, and smoke detectors
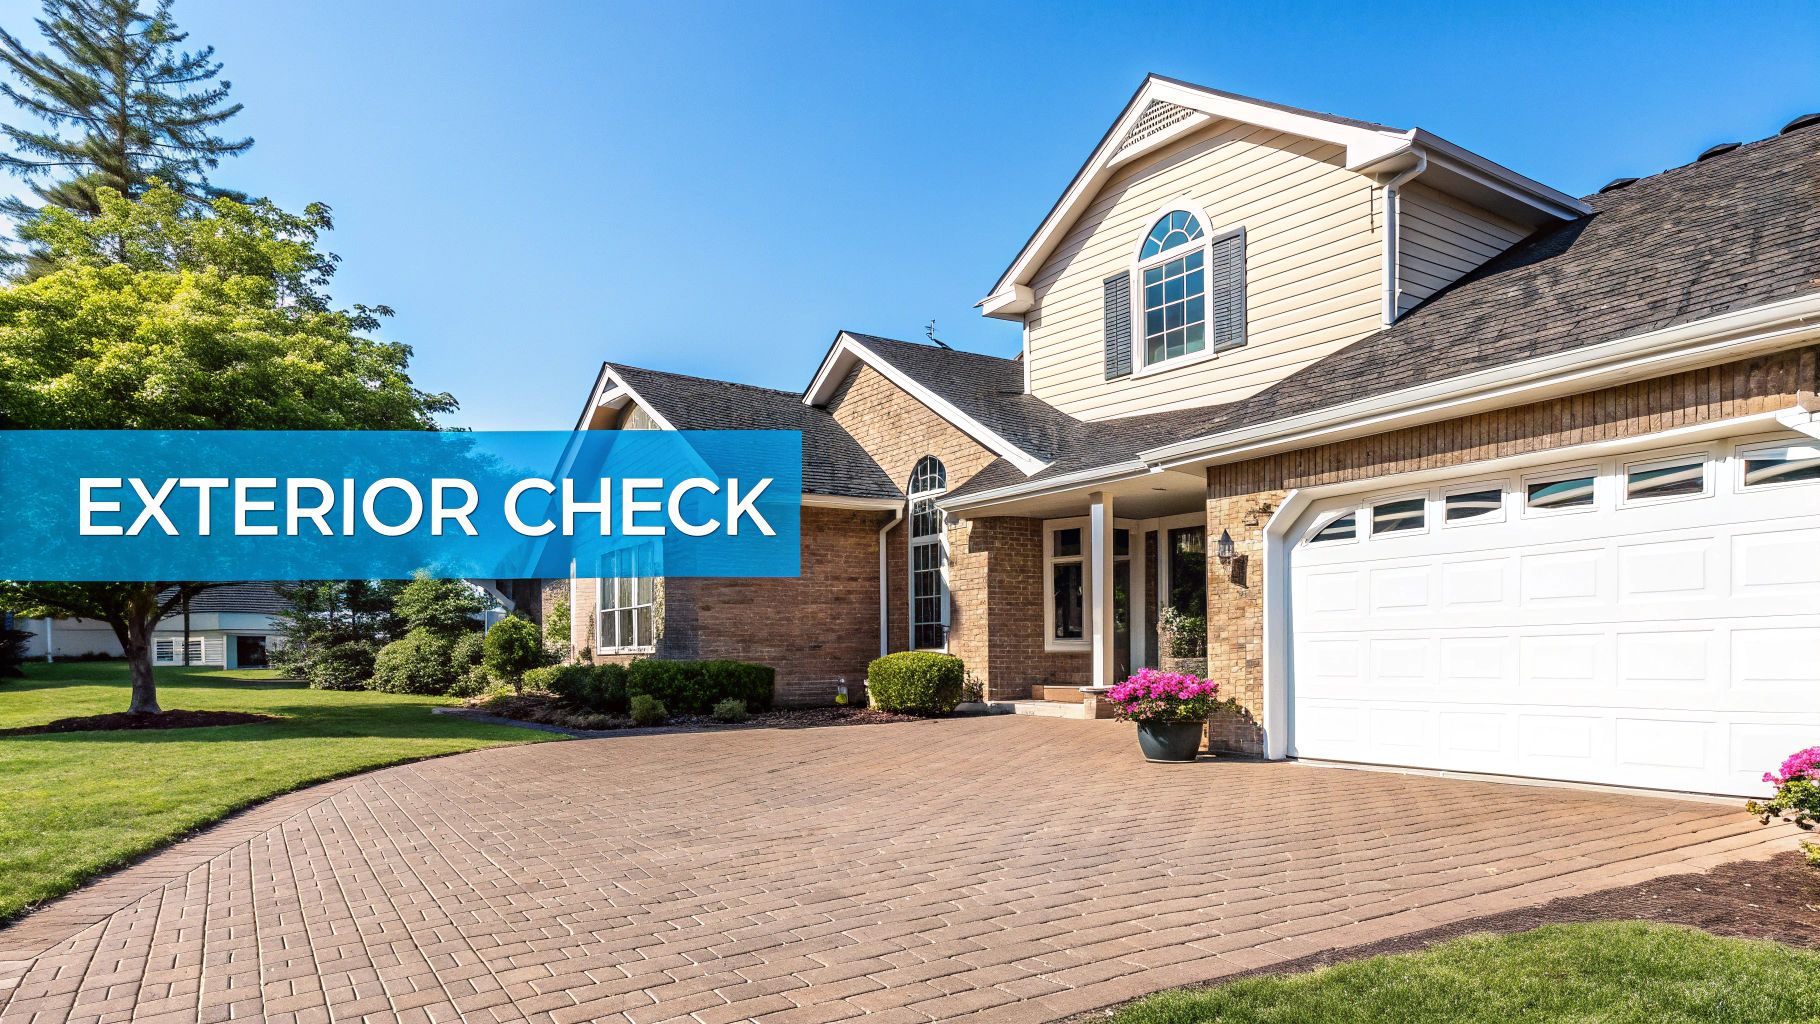
- Exterior & Grounds: Siding, roof, landscaping, and walkways
This format not only streamlines each inspection but also makes onboarding new team members straightforward.
Condition Rating System That Eliminates Guesswork
Adding a condition rating on a five-point scale removes subjectivity and creates a common language for wear and tear. Each score reflects a clear threshold so landlords and tenants alike know what to expect.
- 5 = Excellent (no issues)
- 4 = Good (minor signs of use)
- 3 = Fair (noticeable wear)
- 2 = Poor (requires repair soon)
- 1 = Unacceptable (needs immediate attention)
A study of 500 landlords found 68% faced disputes over move-in/move-out notes before using checklists. After adopting templates, 82% saw fewer conflicts, and room-by-room plans surfaced 25% more maintenance issues—cutting emergency repair costs that average $1,200–$2,500 per incident.
Embedding Photographic Evidence Sections
Pair each checklist area with photo slots so inspectors capture context on the spot. This approach avoids searching for images later and adds visual clarity to your records.
- Date & Timestamp: Auto-stamp every image
- Annotated Photos: Circle or arrow key problem areas
- Before & After: Compare conditions pre- and post-repair
- Tenant Sign-Off: Include a space for initials per room
Essential Sections For Rental Inspection Templates
Below is a comprehensive breakdown of the key sections that should be included in any rental inspection checklist template, along with their importance and what to document in each area.
Ensuring each section is detailed and well-documented helps prevent disputes and maintenance oversights.
Digital Vs. Paper Templates: Choosing Your Inspection Arsenal
Choosing between digital templates and paper-based forms shapes how you capture property conditions. For landlords managing several units, the right format speeds up inspections, keeps records clearer, and helps avoid disputes. Each option brings unique features—like multimedia attachments or tenant sign-offs—that affect your workflow.
The following data chart illustrates year-over-year download growth and inspection format shifts between 2020 and 2022, showing how digital adoption has changed inspection habits.
This data chart shows a 75% surge in digital template downloads, a 35% drop in in-person inspections, and the rise of photo/video documentation among landlords.
Adoption rates for digital inspection tools spiked during the COVID-19 period, with platforms like Stessa reporting a 75% increase in checklist template downloads from 2020 to 2022. That shift corresponded with a 35% fall in face-to-face inspections across Europe and North America, while 60–70% of urban landlords now embed photo or video evidence—helping reduce deposit disputes by 50%. Learn more about digital inspection adoption here.
Photo And Video Integration
Visual records make every condition airtight.
- Attach timestamped images or short clips to items
- Annotate issues with highlights or arrows
- Use before-and-after comparisons to track fixes
- Upload media in seconds from your smartphone
Cloud Storage Vs Physical Filing
Online archives protect your data from loss or damage.
- Automatic backups and detailed version history
- Secure sharing with owners or legal teams
- Instant keyword search replaces manual scans
- Scales easily as your portfolio grows
Paper binders still appeal to those who prefer a tactile archive or need offline access.
Tenant Signatures And Dispute Prevention
E-signatures lock in tenant agreement on the spot.
- Instant sign-off via tablet or phone
- Time-stamped approvals for each room
- Audit trails record who signed and when
- Cuts down on “he said, she said” deposit claims
Bringing these elements together helps you decide which method suits your portfolio size and inspection cadence.
Digital vs. Paper Inspection Templates Comparison
A detailed comparison of digital and paper-based rental inspection checklist templates, highlighting the benefits and drawbacks of each approach.
Conclusion: Digital templates excel at speed, security, and tenant engagement, while paper forms offer a reliable backup for those who value physical records. A hybrid approach often delivers the most flexibility and peace of mind.
The Four Critical Inspection Points Every Landlord Must Master
A clear inspection checklist lays the groundwork, but scheduling each review at the right moment turns records into reliable evidence. Below are the four inspection milestones you need to protect your rental property at every stage.
Move-In Inspection: Establishing Your Baseline
The Move-In Inspection creates a shared record of the property’s condition from day one.
- Send a detailed checklist at least 7 days before the lease starts.
- Photograph every room and fixture, date-stamped for accuracy.
- Get the tenant’s e-signature on initial notes to confirm agreement.
- Use Showdigs’s scheduling tool to automate reminders and calendar invites.
This step minimizes disputes and sets a clear starting point for future maintenance.
Routine Periodic Inspection: Catching Small Issues
Regular checks help you address minor concerns before they become major repairs.
- Arrange visits every 3–6 months with 48-hour notice.
- Focus on plumbing, HVAC, and safety systems using a mobile-friendly form.
- Send a brief report to tenants right after the walkthrough.
- Automating with Showdigs cuts preparation time by 40%, so you can prioritize repairs over paperwork.
These inspections keep tenants informed and budgets under control.
Pre-Move-Out Inspection: Aligning Expectations
A Pre-Move-Out Inspection gives tenants a chance to fix minor damage and avoid deposit disputes.
- Compare current conditions to move-in photos during a joint walkthrough.
- Point out potential deductions and offer simple DIY repair suggestions.
- Record all notes digitally to keep everyone on the same page.
- Tenants who receive a report 14 days before lease end often complete fixes, cutting turnover time by 20%.
This collaborative review boosts tenant satisfaction and speeds up unit readiness.
Final Move-Out Inspection: Securing Your Deposit
The Final Move-Out Inspection verifies the unit’s condition against your original baseline.
- Check each item against the move-in checklist.
- Take before-and-after photos to document any damage.
- Issue the security deposit statement within legal deadlines.
- Landlords with clear photo records resolve 90% of deposit disputes without further action.
Linking each inspection back to your baseline ensures legal protection and accurate budgeting.
Scheduling Techniques At A Glance
Use this table to set inspection timing and comply with local requirements:
Mastering these four checkpoints keeps your rental in top shape, streamlines turnovers, and protects your deposit funds. Integrate inspection scheduling with Showdigs to automate reminders and stay on track.
Personalizing Templates To Your Unique Property Portfolio
A rental inspection checklist template should do more than list basic items. When you manage varied assets like pools or smart home systems, you need a flexible approach. Custom modules for each feature ensure nothing slips through the cracks. For example, adding a pool pump pressure check can prevent expensive breakdowns, while a solar inverter output test stops unexpected downtime.
Identifying Unique Property Features
Think of your master checklist as a framework with optional modules. Start by noting special amenities, then slot in the relevant sections:
- Pools and Spas: water chemistry, filtration, fence integrity
- Smart Thermostats and Lighting: connectivity tests, firmware versions
- Custom Appliances (e.g., wine coolers, espresso machines): serial logging, operating checks
Listing features this way cuts down on guesswork and speeds up onboarding new properties.
Adapting To Regional And Climate Variations
Climate influences how components age. Use this table to adjust your checklist by region:
Localizing your checklist ensures each inspection addresses real-world wear without cluttering the core list.
Implementing A Step-By-Step Customization Process
Follow these steps to tailor your checklist:
- Audit Existing Checklists: Identify gaps across property types.
- Prioritize High-Impact Features: Rank items by cost and maintenance frequency.
- Build Modular Segments: Make each section toggleable.
- Pilot And Gather Feedback: Test on a few properties and refine.
- Finalize And Deploy: Update all versions, share change logs, and train your team.
This method keeps your inspections thorough and adaptable.
Maintaining Consistency Across Portfolios
To prevent version sprawl and confusion, stick to these best practices:
- Master Template With Modules: Keep a core checklist and add optional sections.
- Version Control: Label each update with dates and notes.
- Regular Audits: Review templates quarterly and remove obsolete items.
- Centralized Storage: Use Showdigs to sync and distribute updates in real time.
Balancing consistency with flexibility helps as your portfolio grows.
Evolving Your Template Over Time
View your checklist as a living document rather than a static form. To keep it up to-date:
- Collect inspection data and tenant feedback
- Analyze trends with simple charts
- Revise modules based on findings
- Train staff through quick walkthroughs
Iterating this way turns your checklist into a precision tool, boosting tenant satisfaction and reducing emergency repairs.
Turning Documentation Into Bulletproof Legal Protection
Once your rental inspection checklist template captures every detail, the next step is to turn those records into a solid legal defense. By following clear procedures—from signed acknowledgments to secure backups—you give your documentation the weight it needs to withstand disputes.
Signature Protocols That Hold Up In Court
A reliable signing process is essential for defensible reports.
- Tenant Acknowledgment: Require initials or e-signatures on each room section to confirm agreement.
- Inspector Credentials: List the inspector’s name, title, and contact details on every page.
- Time-Stamped Signatures: Use e-signatures with embedded date and time metadata to prevent backdating.
- Witness Or Co-Signer: For high-value units, a third-party witness adds an extra layer of proof.
With these steps in place, no one can question who signed the report or when.
Evidence Collection Standards For Maximum Credibility
Clear, verifiable evidence makes a strong case.
- High-Resolution Images: Capture at least 12 MP photos with automatic date-stamps.
- Video Walkthroughs: Record short clips for issues like water damage or structural cracks.
- Annotation Tools: Add circles, arrows, and notes directly on images to highlight problem areas.
- Metadata Logs: Keep a digital record of each file’s creation time and location.
Following these standards creates a seamless chain of custody from capture to courtroom.
Storage Practices To Safeguard Your Records
Safe storage ensures you can access evidence when you need it.
- Encrypted Cloud Backup: Use secure hosting with automatic daily syncs.
- Local Redundancy: Mirror archives on a physical drive for offline emergencies.
- Version Control: Track changes to templates and signed reports with timestamped logs.
- Access Audits: Review who’s viewed or downloaded documents on a regular schedule.
Combined, these practices protect against tampering and data loss.
Retention Strategies Aligned With Local Regulations
Different areas set different retention requirements. Use this table to guide your recordkeeping:
Sticking to these timeframes keeps you compliant and ready for audits.
Fair Housing And Anti-Discrimination Considerations
Neutral inspections help avoid bias claims.
- Uniform Checklists: Use the same template for every tenant.
- Objective Language: Describe issues with facts like “scratch” or “stain,” not opinions.
- Consistent Scheduling: Give all residents equal notice and frequency.
- Documentation Of Requests: Log accommodation requests (e.g., service animals) to demonstrate fairness.
These measures lower your risk of fair housing complaints and show your commitment to equal treatment.
By enforcing these protocols—from signatures to storage—you turn a simple checklist into an unassailable legal shield. Ready to protect your rental portfolio with airtight documentation? Elevate your inspections with Showdigs’ AI-backed leasing automation and secure your peace of mind today.